Search the Community
Showing results for tags 'hydro'.
-
-
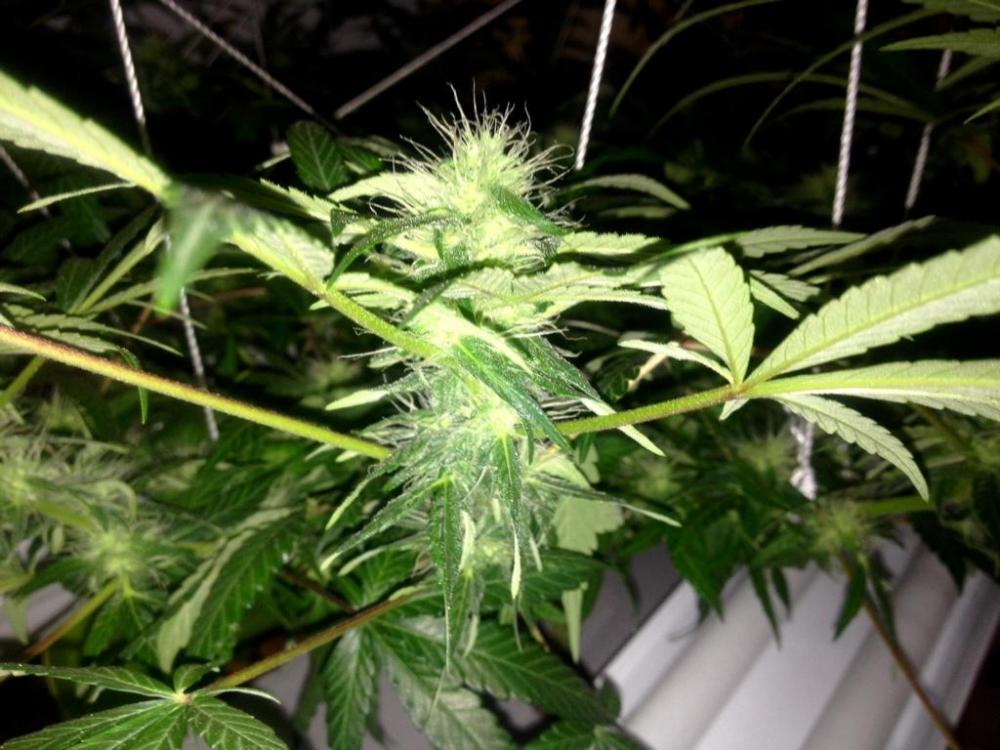
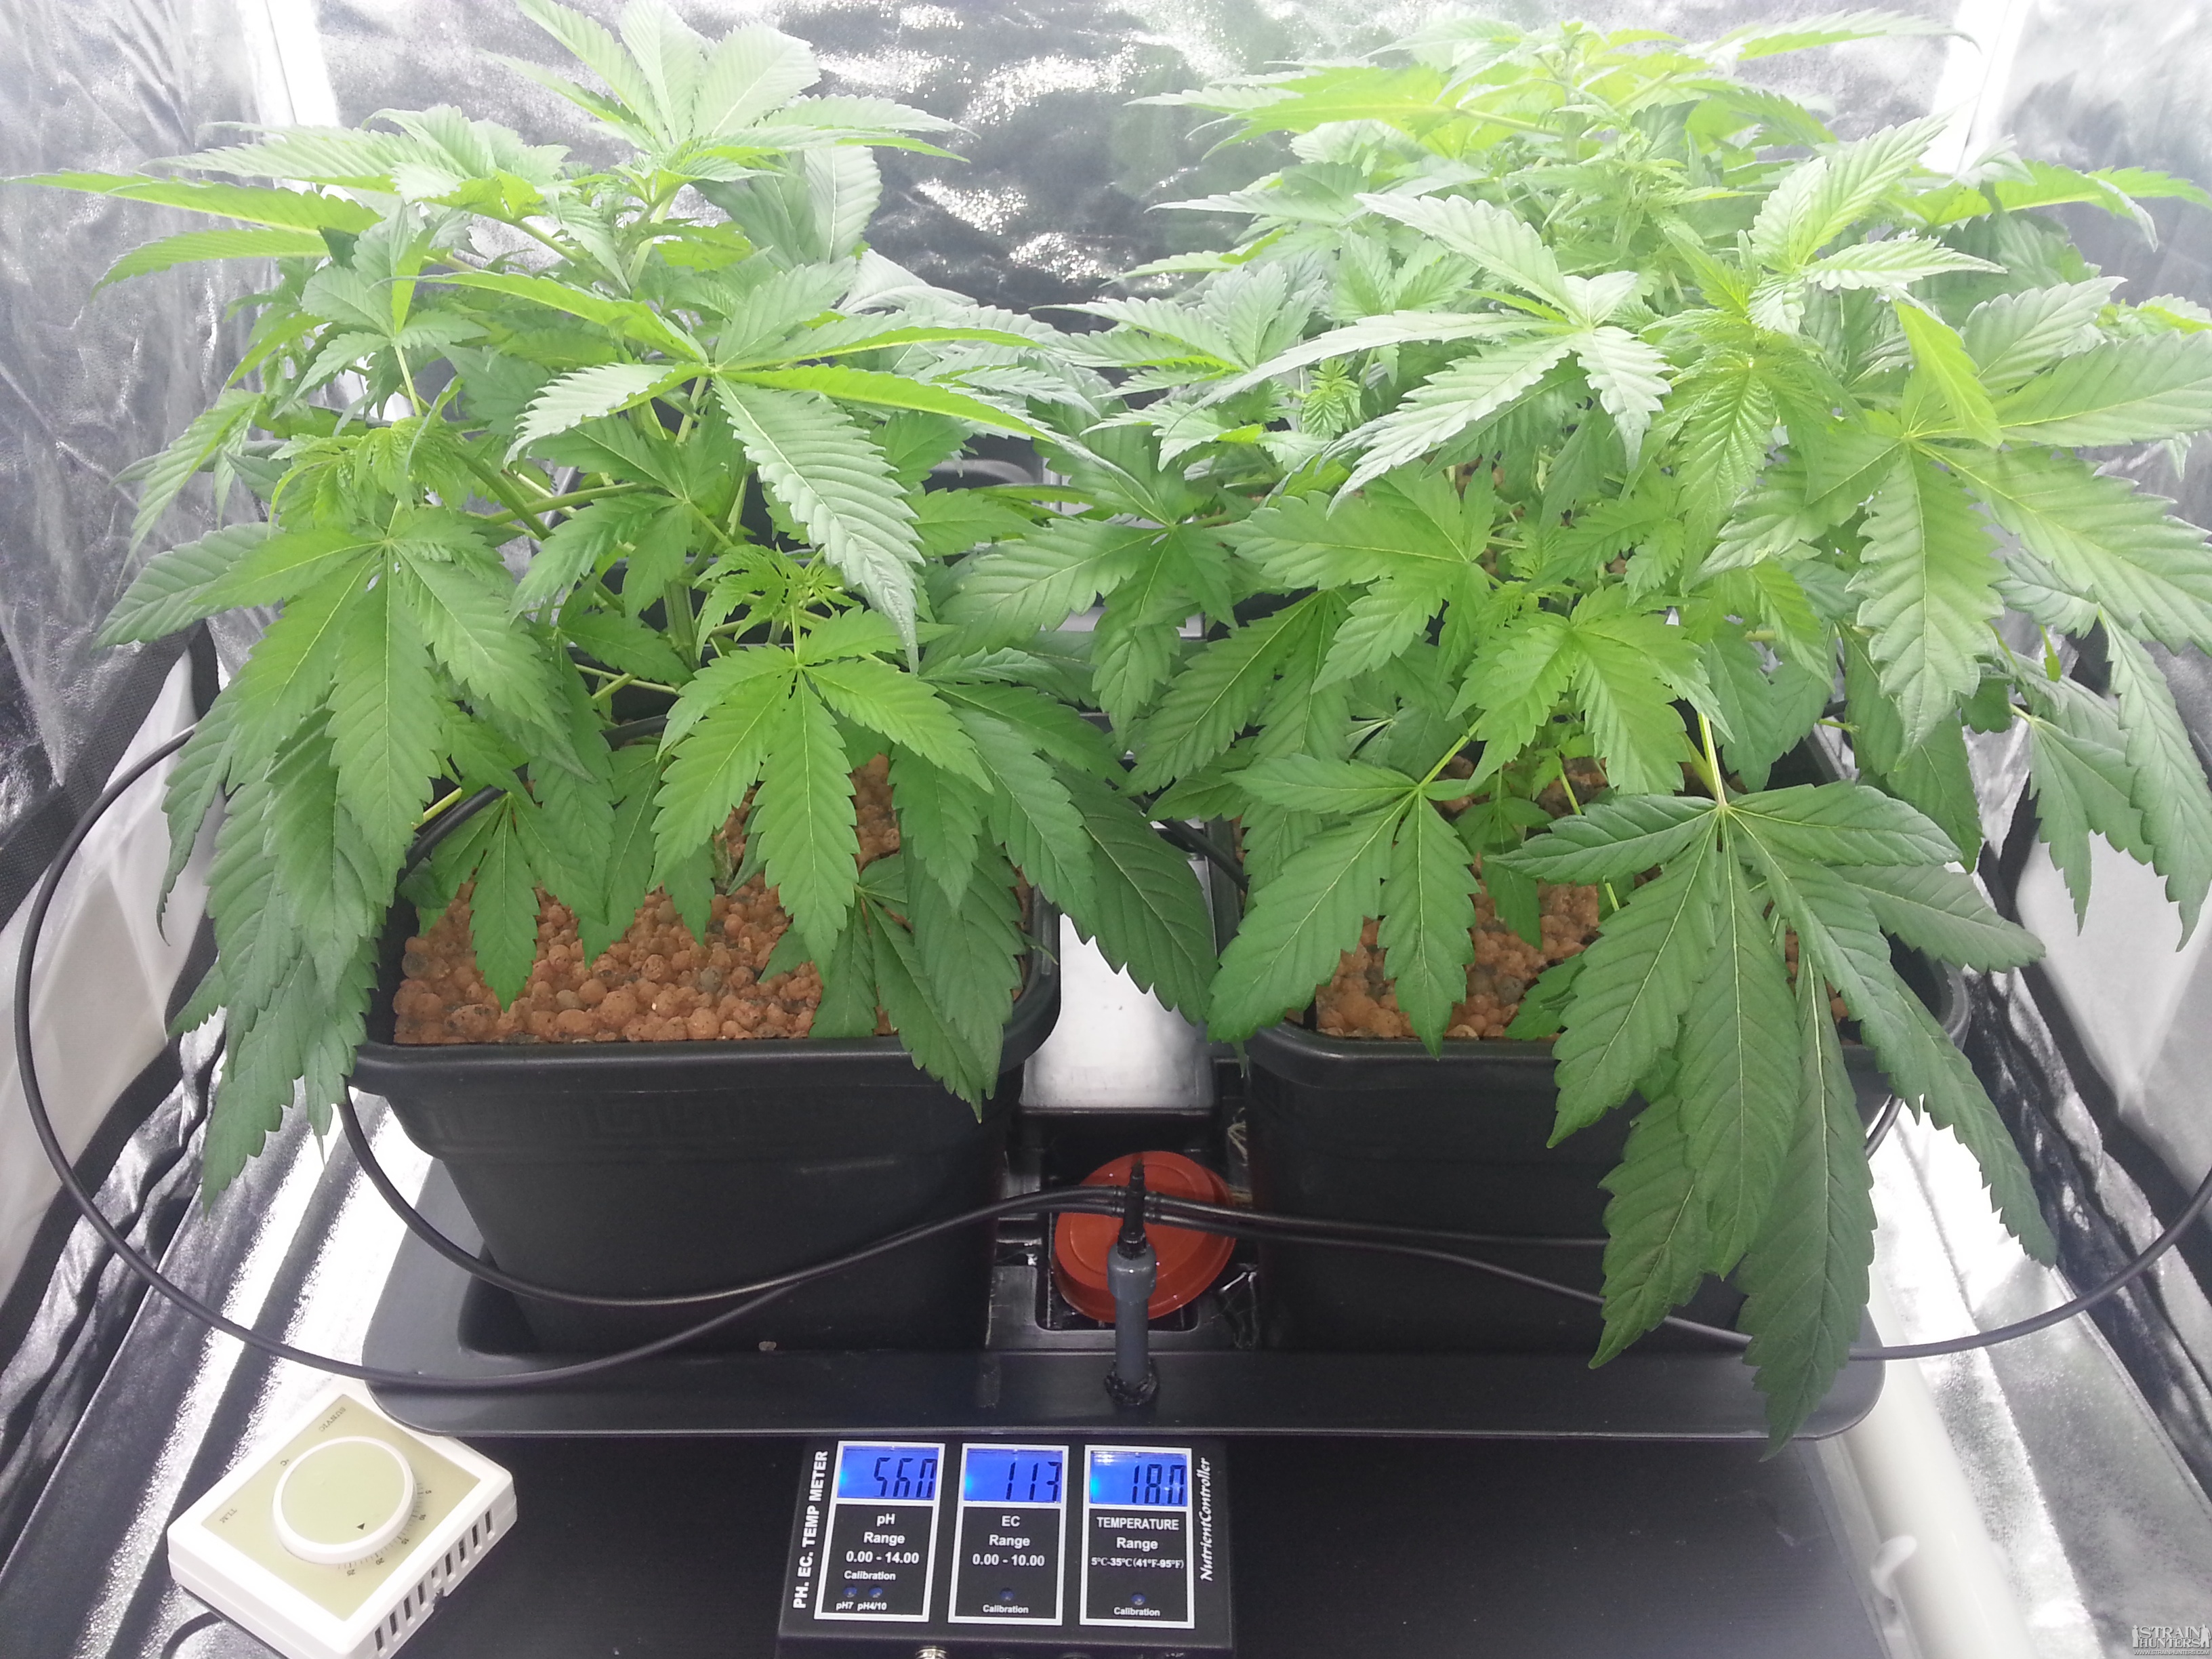
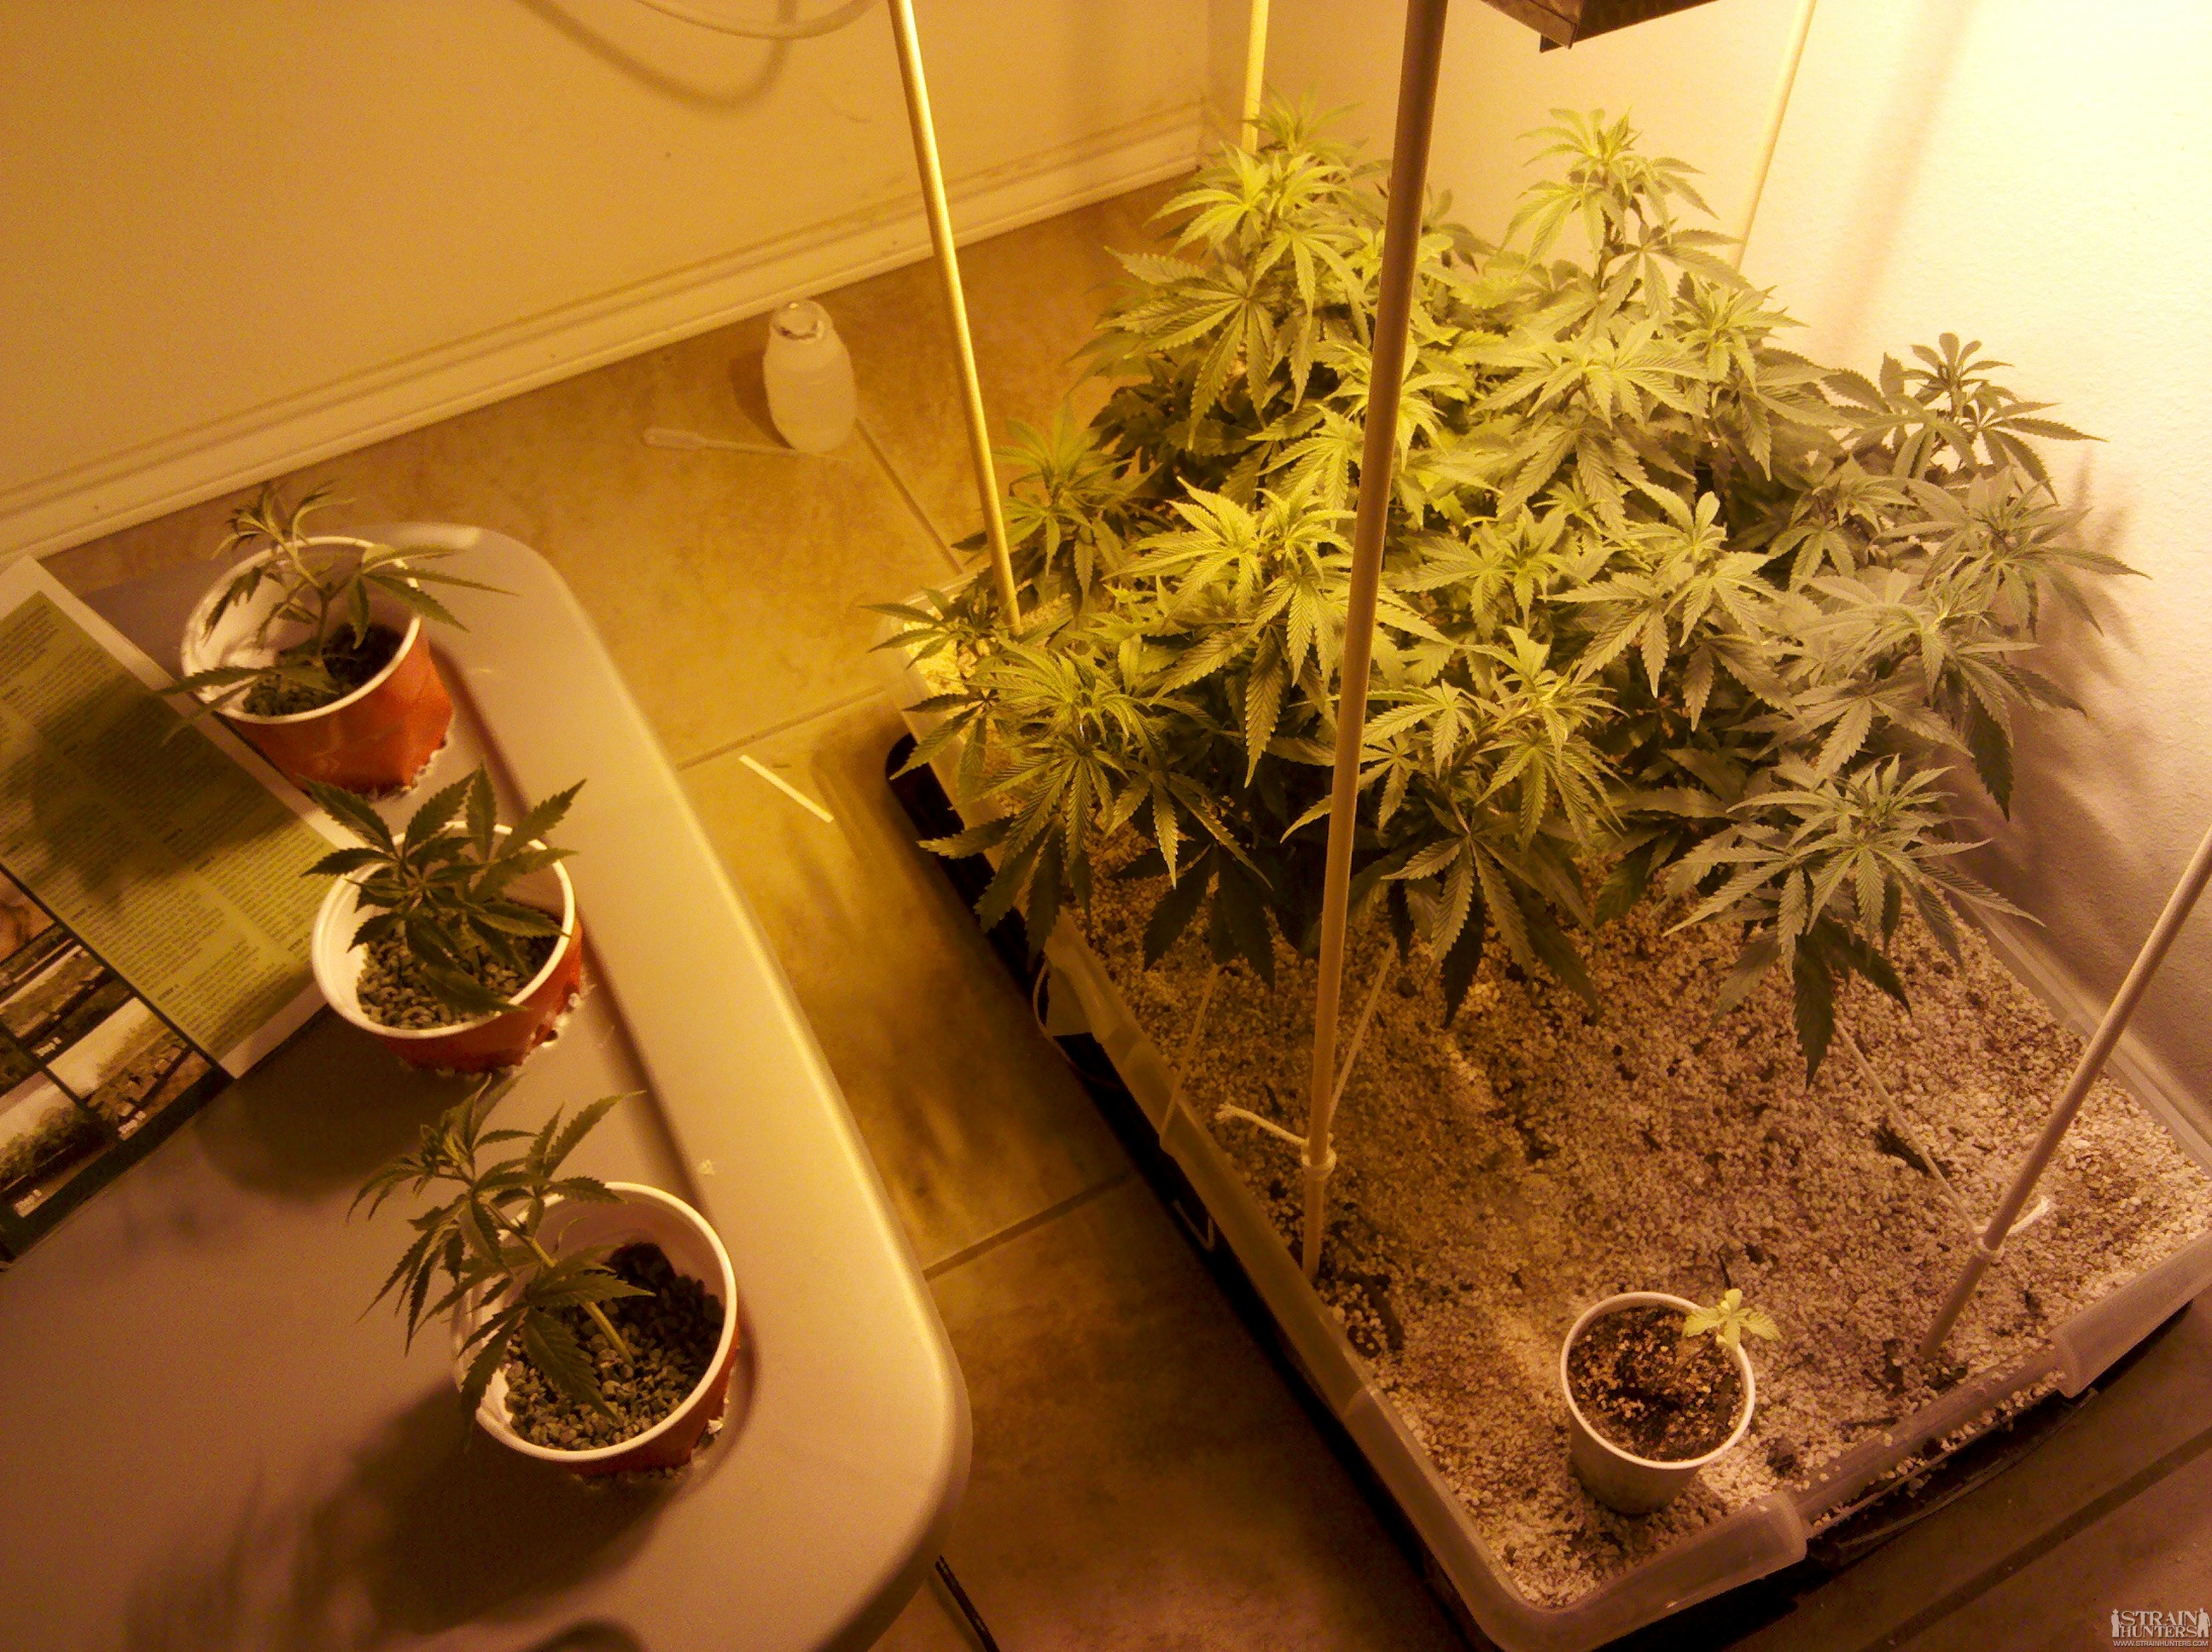
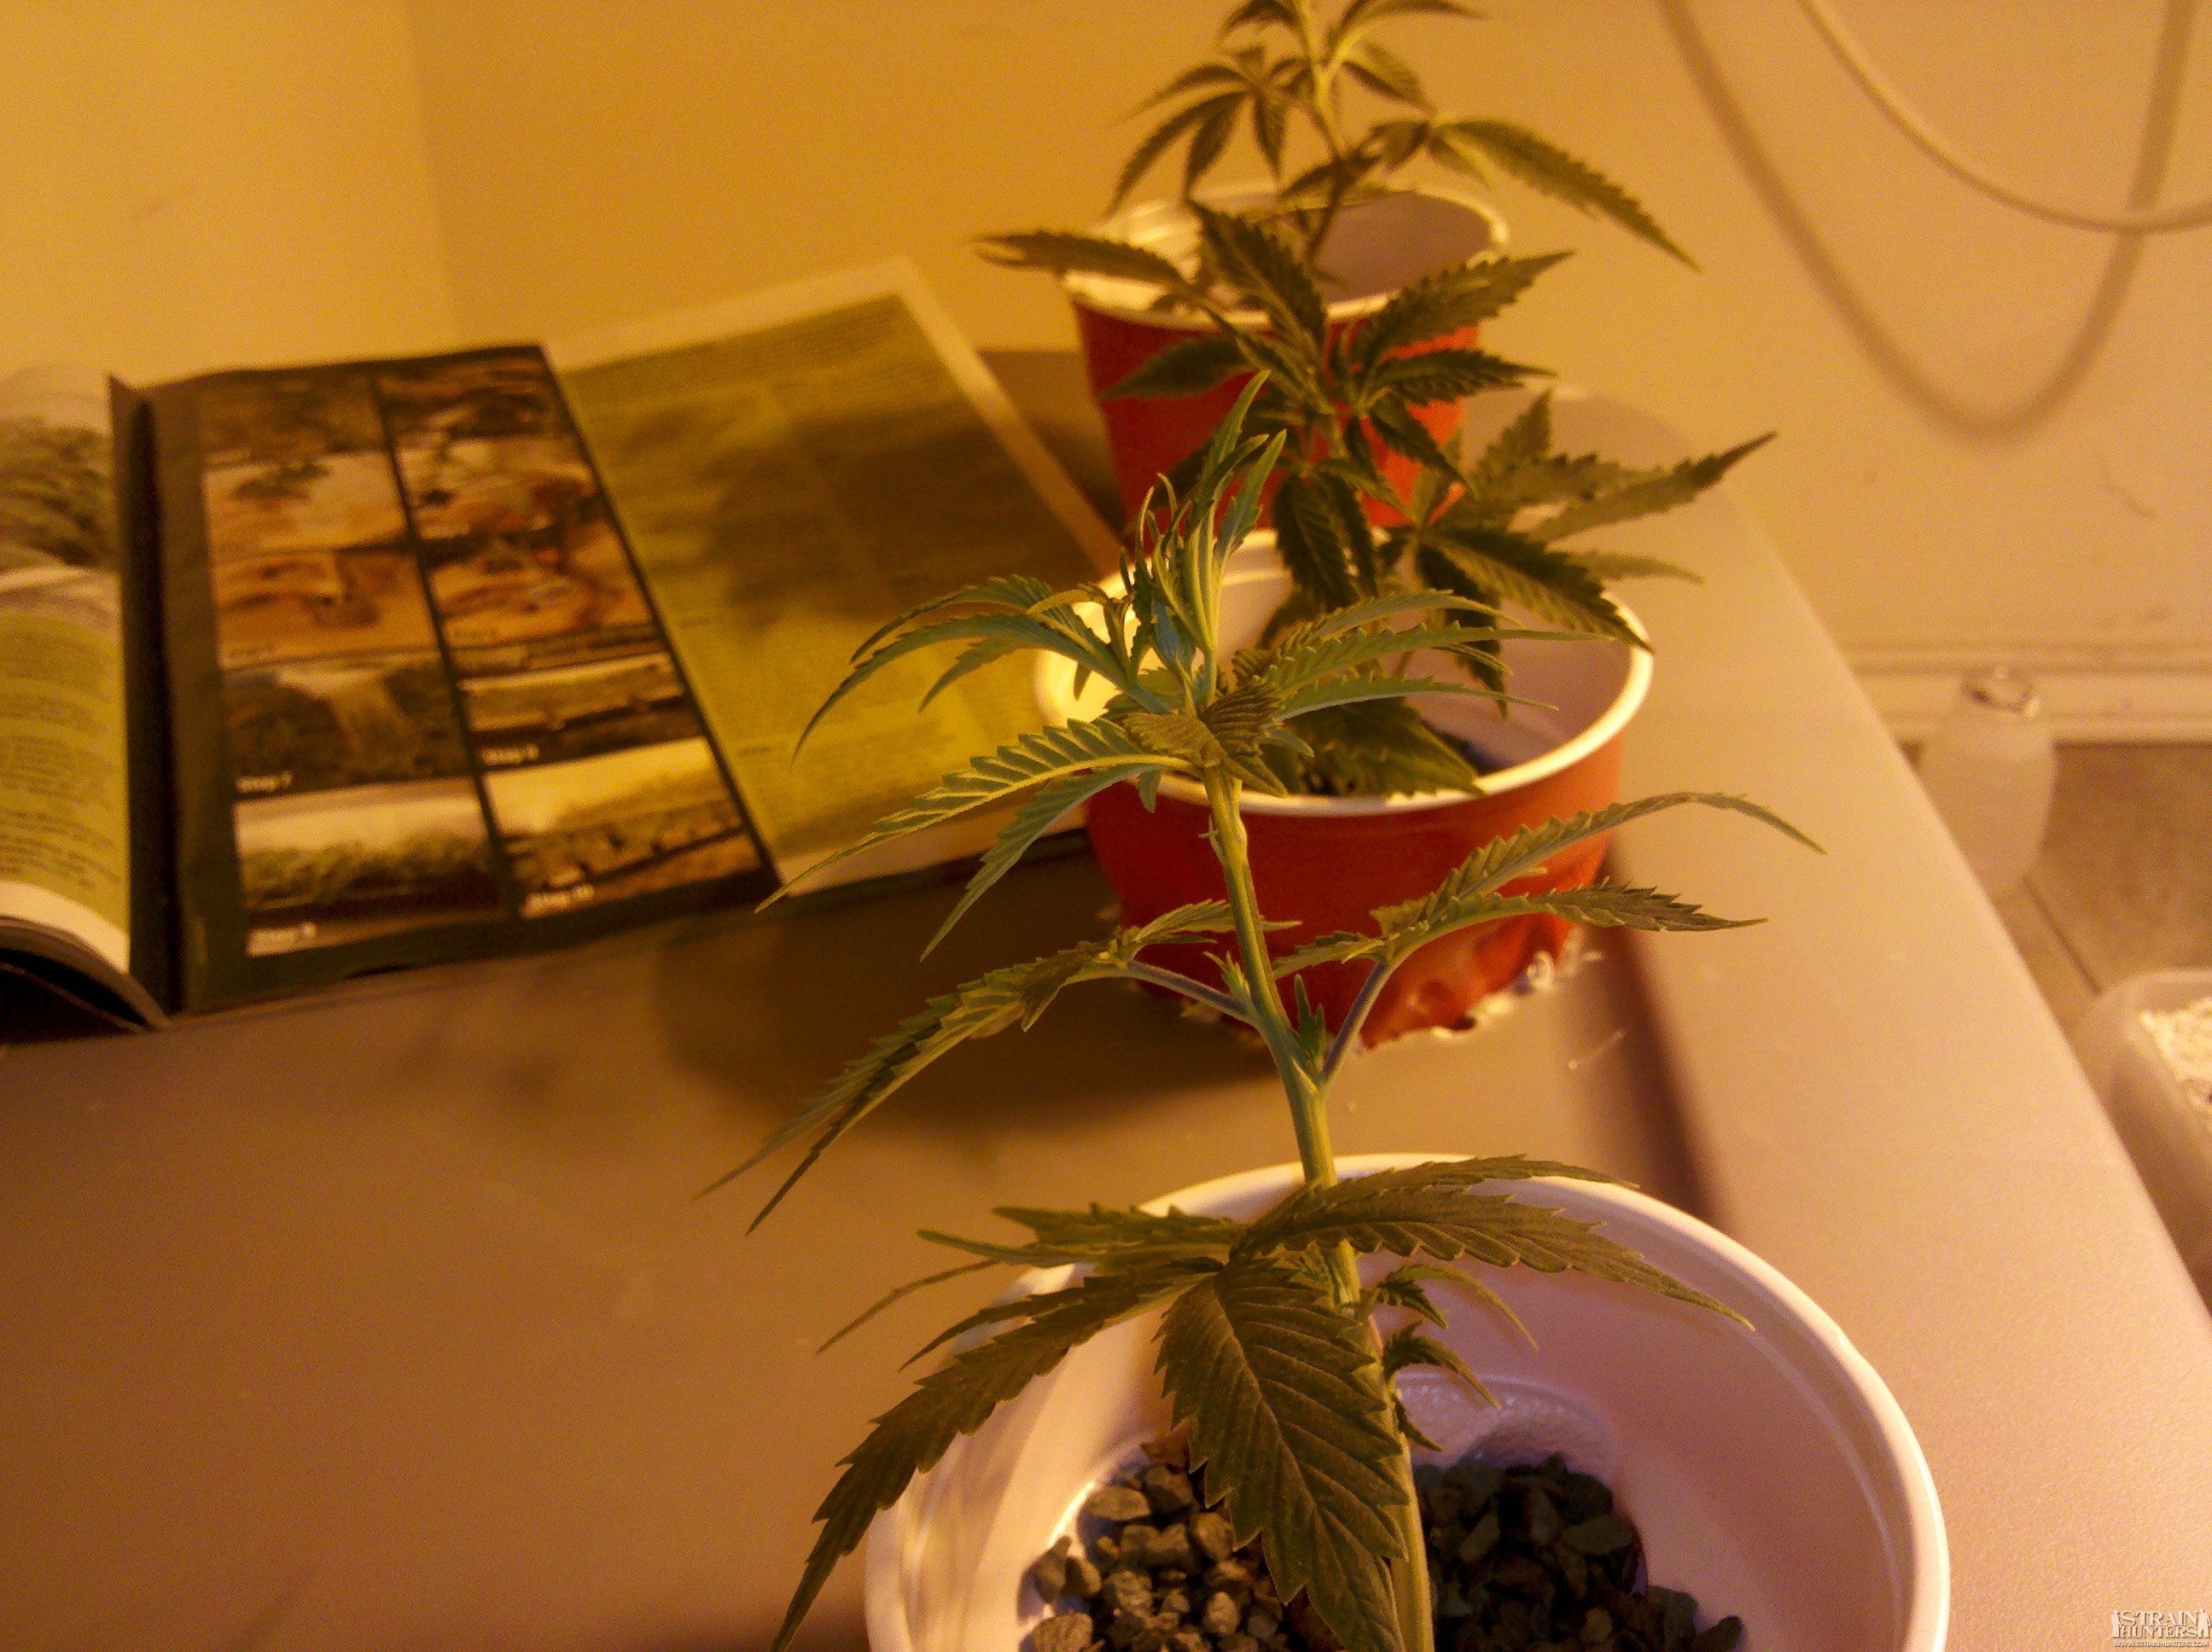
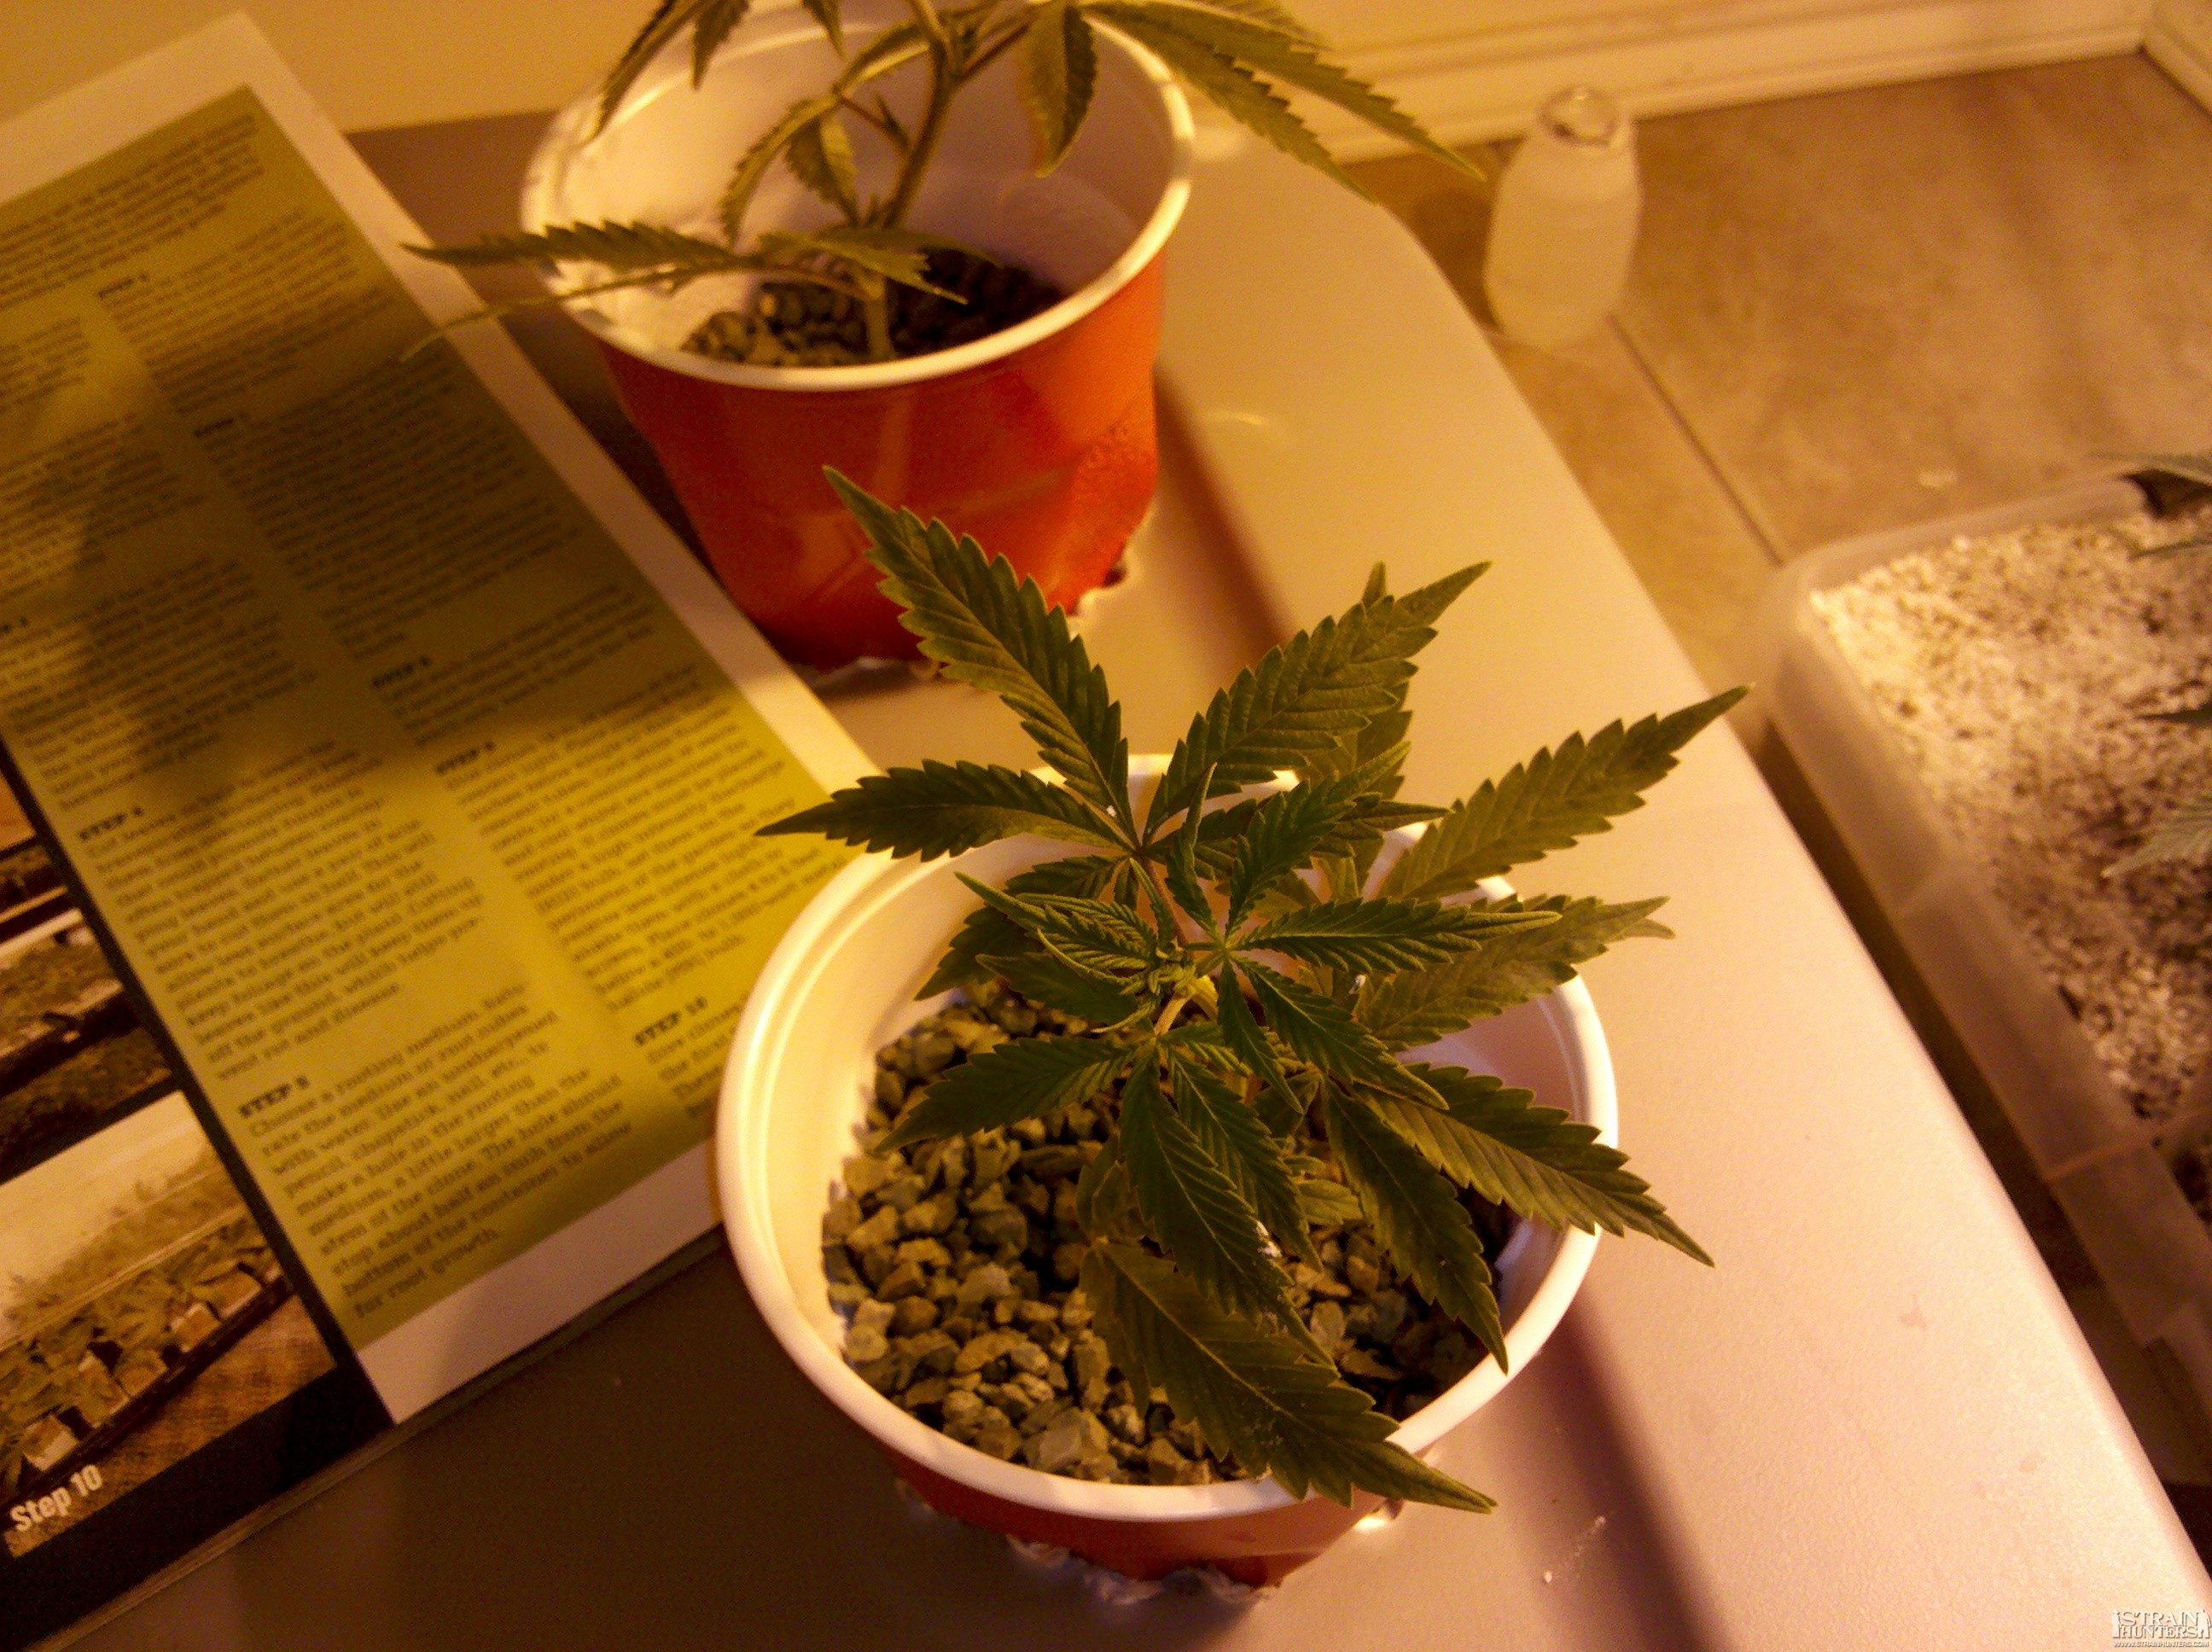
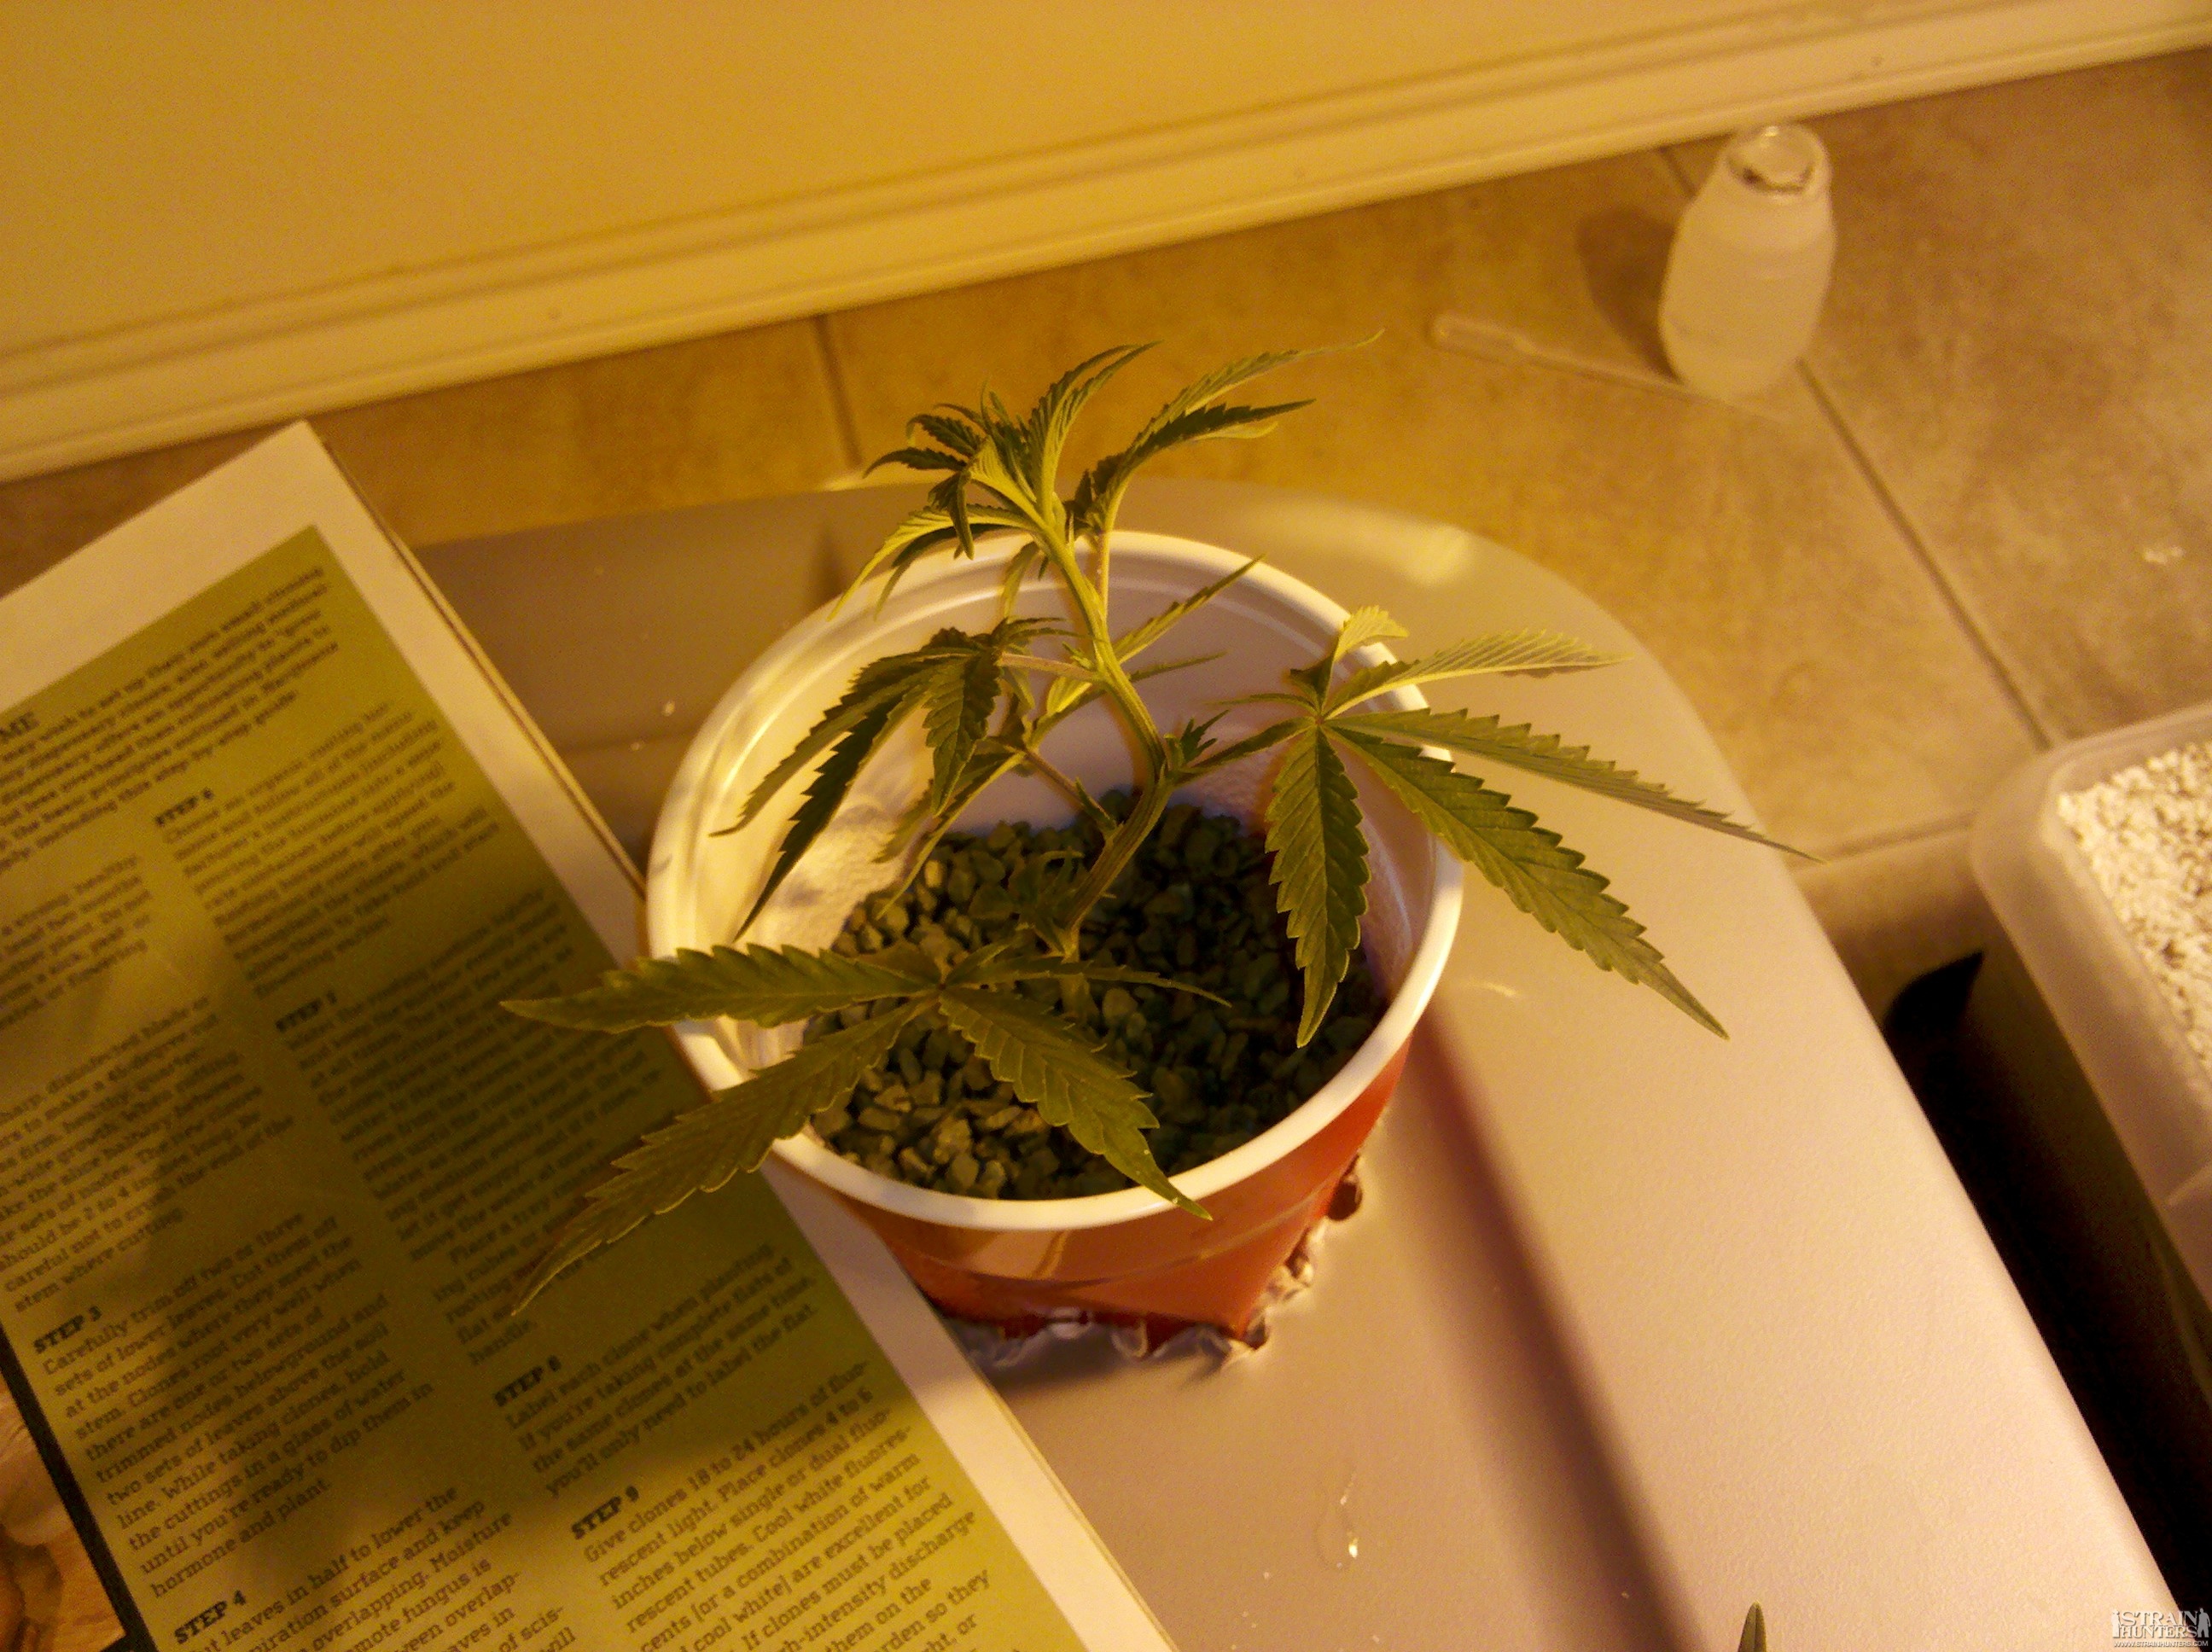
Lights• 2x Mars Hydro 300w leds --- one only on at the moment. Grow Area - Equipment• 4x4 HomeBox Evolution Grow tent ••• Manrose 4 inch 241m3 L/hr inline fan ••• Mountain Air 4 inch carbon filter ••• Hailea 9610 600L/hr air pump ••• Desk fan ••• 500w oil filled radiator with thermostat. Hydro• DWC --- 10 litre buckets for Veg --- 25 litre buckets for Flowering. Strains• Unknown, Sensi Seeds Feminised mix. PH• adjusted to 5.6 and will let it rise to 5.9 before bringing it down again. Nutrients• General Hydroponics Flora Series. Temperatures• 22 to 25 degrees day and night. Humidity• Currently at 80% EC/PPM• Currently at 1.2 EC or 600PPM Plants are just over 2 weeks old now, germinated in paper towels then moved to one inch rockwool cubes for 1 week then transplanted to 3 inch rockwool cubes for one more week before being put into DWC today. Up until now they have only received Super Thrive in plain tap water with a PPM of just under 300, EC 0.6....chlorine removed overnight, the 3 inch rockwool cubes were soaked overnight in a mild solution of Flora Bloom PH'd to 5.5. 2 days ago they got a first light feeding 1.1.1 ratio of Nutrients + Epsom Salt PPM 400 or EC 0.8 Growth has been slow for the first 2 weeks up until 2 days ago when they got their first light feeding and now have gathered some speed, I have 3 plants growing at the moment all the pics below are the same plant. The other 2 plants are one week behind and more pics will follow. Any advice or questions welcome. Thanks for looking
- 32 replies
-
Hello to the Green House Seed Co. Crew, Community and all the hard working men and woman of this stoked out industry!! It has been roughly a year since my last journal posted here! This is going to be another fun round! Currently there are two great seeds that were germinated and started! Caboose! This is going to be an organic soil with compost teas for feeding and One being transferred to a solid indoor ebb and flow hydroponic application that is of my own production. Lots of stoke and excitement going on over here and I am very happy and humbled to be able to share my techniques, grows and info to the great community here! Looking forward to bringing this to you with maybe some kool things you have not seen or really payed attention too....? Thanks for taking the time to scope things out! Saludos! MultiTech!
- 3 replies
-
- 1
-

-
- grow
- indoor
-
(and 35 more)
Tagged with:
- grow
- indoor
- outdoor
- hydro
- new
- grow journal
- caboose
- ghsc
- strain hunters
- multitech
- multitechgrow
- soil to hydro
- hps
- t8
- nutrients
- compost teas
- general hydroponics
- mexico
- netherlands
- follow
- multi
- phase
- flower
- veg
- seedlings
- stoked
- excited
- system
- technique
- sembrar
- cultivar
- legal
- forum
- genial
- chilo
- verde
- green
-
- 2 replies
-
- 2
-

-
- general hydroponics
- rockwool
-
(and 3 more)
Tagged with:
-
Hello to the great GH community! I will make this quick and to the point for you. Been around this industry now for roughly 26 years. Have tried many many applications with varied results. Desert Grows using Palm Leaves as shading and bones, scorpions and local cactus for nutrient teas with sand medium to Indoor fully controlled environments. I dig them all! I currently have an unknown landrace Sativa that i discovered up in the Sierra Madre Mountains of Sonora / Sinaloa Mexico. I have been growing her for almost 3 years now with 20 grows. This is my 21st session with her at the moment which started with organic soil from Guadalajara Mexico and transitioned into an indoor Ebb n' Flo controlled environment with major training. FIM, Topped, Scrog, Super crop, de-scrog, tied and under canopy lighting. Will post more on a journal for all to enjoy, critique, comment or just learn from. I also have an account on GrassCity Forums (MultiTech) should anyone feel the urge to read up on my outing there as well. I am very excited to be a part of this great community and will be looking forward to others, nubez to tradesman, grows, techniques, questions and commentary. Saludos a Todos! -MultiTech
-
Hi Brothers & Sisters I have decided to do another SSH from GHSC, i love this starin and have had nothing but success with it in the past. I'll be using a 100w LED COB style for the grow cycle on 18/6hr with a Wilma Big 4 Pot System. 400W HPS for the flowering stage GHSC Long Feed Clay pebbles for the medium Tri-meter to keep an eye on Ph, Temp & nutrient levels In-line extract fan with carbon filter Small desk fan Tubular heater and room stat to help stabilize temps Aero-pot for the early growth after germination Currently germinating been 2days since adding seeds to tap water Ph6.9, I have never germinated in Ph5.5 More updates will follow in a couple of days or maybe sooner.
-
Just wanted to know what is the best mix of cocco and perlite. They get watered from the bottom if that helps so they have to wick it up. They are in 10ltr pots in a tray and i am busy with work so doing this side grow the lazy way.
-
From the album: Hydro slabs, led, scrog
-
From the album: Hydro slabs, led, scrog
-
From the album: Hydro slabs, led, scrog
-
-
Hi all, well I've finally give up buying my weed at shocking prices here in the U.K. I've decided if they can do it then so can I. I have already acquired my tent 600 x 600 x1200 and carbon filter. I work away from home for 4 days a week. So my question is what type of system would be best to use as I can't be there on a daily basis. I have around a £400 budget to finish my set up. Oh I also bought some skunk auto. I'm happy to buy different seeds if the system is best suited to different ones. Also any feed back on using a led light. All replies appreciated
-

Can Someone Explain Flushing With Hydro Drip? I have 3 or 4 Questions
Guest posted a topic in Hydroponics
Can someone explain flushing with hydro drip please? (Please read below before answering as im trying to answer my own questions LOL) My nuits are only GHPF (powderfeed) I LIKE SIMPLE Im looking to flush 2-3 time during the grow ( i really want to have non chemical,salt build up bud ) What i would like to know.... How to flush while still growing (mid flower) , And the final flush ? During mid flower do i just not feed them any water and let them use whats left of the nuits in the reservoir say for a 5 days then just go back to my normal nuit feed again ? or could i add flushing solution aswell ? OR do i have to clean my reservoir out totaly and refresh with new water and only water for the duration of the flush OR do i still flush with nuits (GHPF) during mid flower on a much lower level ? I know that when it comes to the final few weeks of flower i should reduce my nuit level and let them take the rest of the nuits in the res then flush with just water till harvest, i think ? Can i use flushing solution during mid flower flush and the final flush? I think im starting to confuse my self abit, when its probs very simple im sure... AND if any one knows the correct ph and EC of flushing that would be handy Would love some input right now guys -
Hi Everyone, I'm going to start my germination this evening!! It's my first attempt and i want to keep everyone in the picture. This is what i got: 10 GHSC Super Lemon Haze 1.2 x 1.2 x 2 Grow tent 8 Pot Wilma (Atami) with 70L reservoir &11L pots Barn Door Lighting Reflector (Shite i know) with Sunmaster Delux 600w Dual spectrum bulb & ballast Clay Pebbles Root Riot Kit & Propogator Eazi Rolls Ecotechnics Evolution digital controller Oscillating Fan 4" Inline fan (haven't fitted yet) Essential Trident 3 in 1 Ph up/down Advanced Nutrients Sensi grow/bloom Prior to starting i have tried to prepare myself. So ihave set everything up. Cleaned all the pebbles and tested everything for their different cycles ie. veg, night, day, flowering. I have watched the growing video and tried to produce a grow timetable. I have attached it to the post. It's not quite finished yet but i wanted to see what other thought first and ask a few question too :-) I'll start adding photo's later. However there is one issue i was having. Humidity. When lights are off humidity is at aroung 68%, which is too high during the flowering time. On the grow video it says that it must be reduced to 30%. I have tried removing the passive air flow vents but it's still too high. Do you think i should get a dehumidifier? Which one? Also Can anyone suggest an extra Advanced nutrient for the final budding phase? And... how long will flowering be in a small tent like mine? On the grow video they have theirs flowering for like 9 weeks... Lastly what should my PPM be for this setup? Look forward to your comments...
-
From the album: Other Thing
Bucket grow, 600w hps, time bomb ch3rry pepper -
From the album: Other Thing
Time Bomb Cherry Pepper Bucket Grow, in Hydroton 600w HPS -
From the album: Other Thing
Indoor jalapeno grow, its a 4x8 table hydro in grodan under 2 cooled 600w hps -
This is at the end of the grow only because I just signed up So I'll post some pic of the beginning and then the end I promise a better journal on my next grow which should be in about 2 weeks
- 63 replies
-
- GHSCsuper lemon haze
- LED
-
(and 3 more)
Tagged with:
-
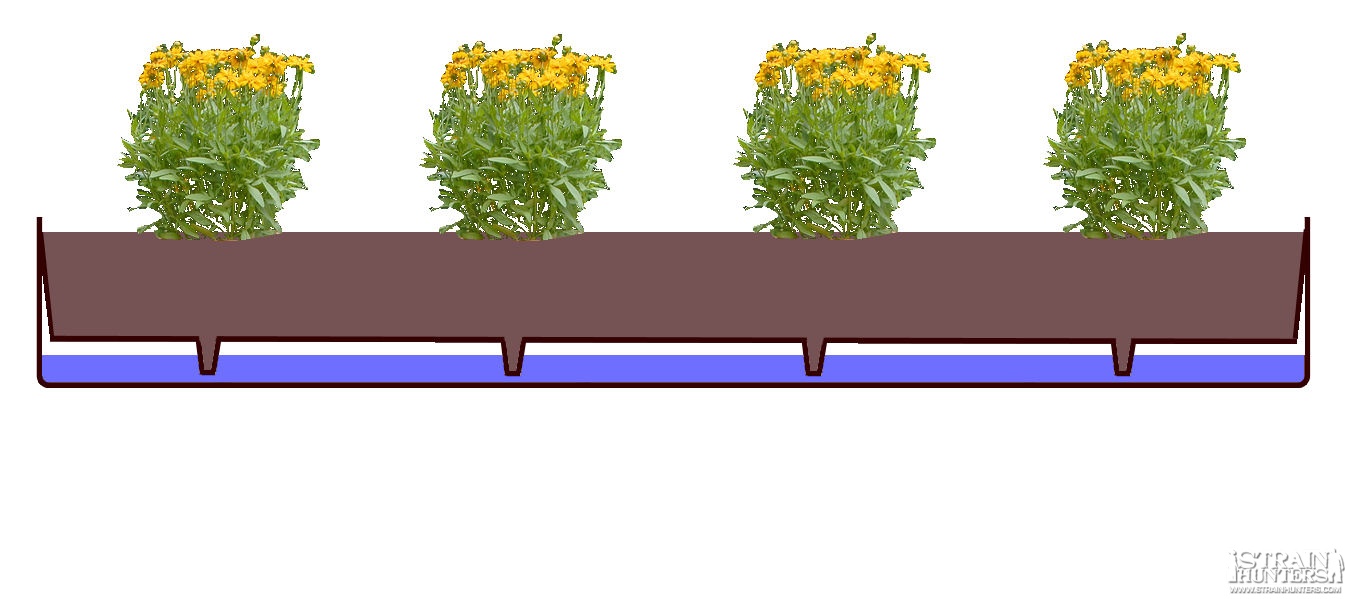
Not all of us like sophisticated and complicated and expensive gear, but want more than just soil in 4 l pots. So I may have an advice for you. Plantboxes for balconies come in two types. one simple with just one space, and one with an air pocket down there where you pour in the water from the side. Just look at the pic. This "hydro" plantbox works very good with cannabis and coco. No more overwatering with coco, always enough air for the roots and the roots are getting very strong in there because the take the water out of the reservoir. You do not water o top, ut the plants have to take the water by themselves. And the best: One box is just around 10 Euro in any garden shop. 1 m length box is good for 4 plants. Try it out!
-
A technique which I have heard works well. say you have 5 plants in a line, over 5 metres. drill hole at the bottom of a large container, (water container for camping, large bucket) and, so air tight put a 6 metre length of hose in it. hang this about a foot or more of the ground at the start of the line. assuming you have planted directly into the ground, run the hose across the 5 planting areas, and at the end put a bamboo stick in the ground. tape the end of the hose to this, most of the way down the stick so the hose is vertical at that end. with large U shaped nails sercure the hose over the growing areas by putting U shaped nails over the pipe inbetween each site, so flat against the earth. with a pin, make 2 -4 tiny holes over all the spots, and block the end of the hose attached to the bamboo. fill container with water and cover with leaves , branches, bushy bit so its not so obvious over head. return every 2 weeks with more water and nutrients pre mixed? any good? what can make it better , keeping costs to basically nothing?
-
Hello everybody, this is my first grown report and my first grown session.... so be indulgent please, i never do that before.... Let's have a look about my gear: mylar box 900x500x1600mm 400W MH/HPS with cool tube. home made hydro system include mixing pump, air pump, water heat. air intake 100m3/h. air out with carbon filter 300m3/h. cool tube 300m3/h. T° controller with 2 speed dimmer, 1 for the cool tube and 1 for intra/extra linked together. 3 liters airpots. root riot starting cube. powder feeding mostly indica. auto controlled humidifier. ec and ph tester. starting with 4 kalashnikova from green house seeds... now the pics... the empty box: seeds in germination: all seeds popped in 2 or 3 days then put them under 400w MH in my mini green house.. babies in veg: hydro veg +5 hydro veg +9 this one died, she was the most beautiful... hydro veg +23 hydro veg +25 babies in bloom: bloom day 00 bloom +5 (today) Settings: for the germination phase: just tap water ph 5.5, EC 1.1 in spray over the root riot, once a day (before night). air temp 26-29°C. hygro 80-90% RH. for the veg phase: ph 5.5~5.8 EC 1.8 (with tap water EC 1.1) at the start then went to 1.3 before bloom with only powder feeding (addition of 12 liters of tap water PH 5.5 EC 1.1 every 5 days). water temp 22~24°C air temp 25-26°C the day and 19-17°C the night. hygro 60-70% RH. for the bloom phase: ph 5.5~5.8 EC 1.72 (with tap water rectified to EC 0.7) water temp 22~24°C air temp 25-26°C the day and 19-17°C the night. hygro 55-60% RH. these settings will change along the time.... I lost a babie because between the 2nd and the 3rd week of veg, PH went to 3.5..i saw it 2 or 3 three days later.... this one never heal.....god bless her.... i wil try to put some pics and comments at least once a week, and hope to have your feedback to be sure not to bullshit... thank you all in advance...
- 18 replies
-
- hydro
- kalashnikova
-
(and 3 more)
Tagged with:
-
I took my first Hydra cuttings tonight and put them in their new home for the next ten days. They were taken from the mother who is 14 weeks old. Last time I counted she had 19 tops.
- 10 replies
-
- motherplant
- clones
-
(and 2 more)
Tagged with:
-
26 days into flowering today and my nice bushy doctor plant has a bunch of flowers, and now a BUNCH of pollen sacks. im not happy.
-
Hydroponic System Types Through this tutorial we are going to break down some of the more popular growing methods and styles. But first what we would like to talk about are the two core reticulation patterns , Re-Circulating , and Run to waste. This tutorial is by no means the be all and end all of solutions for the described systems , as we will cover later on there are many modifications made to every style of system and to judge one as better than the other without trying everything is simply impossible , so experiment within your comfort boundaries and see what works for you Plumbing style Re-circulating Systems In a re-circulating system the water is pumped from a main reservoir to the plant root system , the excess water and nutrients are then returned to the reservoir. Trace elements are topped up as used and regularly dumped and refreshed to keep the system stable . These sorts of systems are often popular with hydroponic growers as they are more cost effective in both water and nutrients than run to waste systems however recirculating systems are not without their downsides. Because of their nature and the methodology used to top up the nutrients as used instead of a fresh batch done all at once means that re-circulating systems tend to require more regular checking and correcting of pH , and EC levels which adds that little bit more maintenance time spent in the grow room. Failure to keep these measures under control a recirculating system can become quite unstable with figures fluctuating daily. le growing environment , however with todays trends that is simply not the case for many now and because of this , things like root rot being spread from plant to plant via their shared cycled water source is something that you have to keep an eye on. Run to Waste Systems In a run to waste system the water is pumped from a main reservoir to the plant root system , the excess water and nutrients is then simply run off into the ground , catchment tray , or waste bucket. Though a less cost effective method of growing it does provide a more constant stability as with each watering the same balance of nutrients is guaranteed without any guess work , pH fluctuation issues are also less of a problem as the water is " fresh" at each watering. It isn't without it's downsides aswell though , because of this fresh water and nutrient feed sometimes as many as 5 times a day ALLOT of water and nutrient can be potentially wasted. It is therefore up to the grower to choose a suitable method of growing that isn't going to hurt the wallet or the environment too badly , whilst still allowing for the advantages that Run to waste provides. System Types Now we have those two cleared up lets actually get into the systems , Most of what is bellow can be used in eighter a run to waste or re-circulating configuration though many as you will see through their descriptions are certainly more suited for the re-circulating methods and run to waste often requires a bit of modification to put in place ( minimal for some major for others). For simplicity's sake for the rest of the document we will be talking about the below systems in their most common state. Nutrient Film Technique/ Nutrient Flow Technique ( NFT) NFT has come a long way from it's origins , traditionally speaking NFT is a completely medium free system though these days is often done as a hybrid system sometimes implementing clay balls or rock wool to fill the channels to give more compensation for water temperature and/or nutrient fluctuation.. All these variations still mostly follow the same principles. Typically the roots sit suspended in long slightly sloped irrigation channels , with nutrient rich water introduced to the raised end allowing a natural flow over the root system in the form of a thin layer of water to the lower end of the channel where the water is returned to the reservoir to be reused again. Feed schedules are sometimes run in 15 min on 15 min off intervals however the traditional method is to keep a continual flow Helpful system design tips In order to ensure good drainage the channels need to be suitably sloped as seen in the example image below Channels must be wide enough to cater for the developing root mass that will happen through the grow Rectangle channels have a greater base surface area than cylinders allowing better access to the flow of water for the root system and because of this surface area increase are less likely to block as the root mass grows To avoid solid impurities it is advised that you run some form of in-line filter or filter material both at the point where the water comes into the system as-well as your return lines Use a heater in your reservoir to ensure a stable water temperature Suitable mediums : Clayballs, Rockwool, Lavarocks, None Advantages Low water and nutrient consumption The option to use no medium gives easy access to the root system visually Little to No medium cost Relatively easy to clean and sterilize No large amounts of medium to dispose of Disadvantages Pump failure can result in the loss of plants in a matter of hours Not suitable for plants with large taproots Quite susceptible to temperature fluctuation problems Less suitable in area's with naturally high salt levels in the water as levels will gradually increase Aeroponics Aeroponics is a method of growing in which the root system is left to freely suspend in a light proof reservoir. Nutrients and water are introduced in the form of a fine mist ( fog ) created from spray jets/nozzles and a high pressure water pump which generally operates 24 hours a day. The plants themselves sit in net pots filled with clayballs or lavarock , which are in place to give the plant an initial anchor to the system as well as keep the root area dark. Although it is considered one of the newer methods of hydroponics it is often considered the fastest growing methods when measuring the vegetative period of growth like all good things though it is not without it's downsides, and unfortunately in the case of aeroponics what could take a week to show itself and badly effect your plants in some systems could take as little as a day or two to take hold in an aeroponic setup for this reason it is not necessarily the best option for a first time grower though with certain precautions and constant monitoring and dedication even a new grower can achieve good results Helpful system design tips Ensure to use quality hardware and filters as failure to do so can mean a fast downward spiral should issues occur because of this it can also be advisable to have a backup of certain items like water and air pumps To avoid solid impurities it is advised that you run some form of in-line filter or filter material both at the point where the water comes into the system as-well as any return lines though they are less commonly found in aeroponic designs Using a heater and or chiller where suitable in your reservoir to ensure a stable water temperature can go along way to a successful grow , some areas have no need for either whilst other areas demand one or both at various times of the year to keep the water within the desired range of 22-24 degrees Celsius Make sure that you choose a suitably sized reservoir for the number of plants your looking to grow keeping in mind that you want to avoid the spray heads from becoming entangled and blocked the container also needs to be lightproof to avoid algae growth and other rot issues associated with light leaks in the root zone Food grade plastic is strongly suggested for your reservoir aswell as any tubs as they do not corrode and it is easy to attach fittings where needed to them ( it sucks pulling your hair out with a contamination issue as it's often the last thing you consider when you encounter issues at the time) Suitable mediums : Clayballs, Lavarocks, None Advantages Provides an oxygen rich environment for the roots Widely considered the most rapid growing method Low water and nutrient consumption in comparison to run to waste systems Easy access to check on root system Easy to sterilize and clean the system Low medium costs No large amounts of medium to dispose of Disadvantages Pump failure can result in the loss of plants in a matter of hours particularly in warm weather Spray nozzles have a tendency to block up so regular cleaning and the use of in-line filters on your lines is strongly recommended High sensitivity to water temperature which can mean in summer that a chiller is needed in some areas in summer Need for regular water dumps and water changes are needed to avoid rapid occurring buildups Not really a method recommended for first time growers as issues can occur rapidly leaving less time to fix the problem Flood & Drain ( Ebb & Flow ) Much like NFT and other methods for that matter Flood and Drain has come a long way from it's origins with people adapting all sorts of styles to achieve the main principle of flooding a tray and allowing it to drain out. For this tutorial though we will stick to the traditional implementation and allow you to work from there. One area where flood and drain stands out as different is that in many methods is the fact that water and nutrients are introduced to the root system from beneath instead of from the top allowing the root zone to flood to a predetermined and controlled level and is then allowed to drain back into the reservoir. This is all controlled by a pump, timer and a drain/overflow that run on an alternating cycle , the pump runs for whatever period of time you allocate for it allowing it to reach the desired water level , with the overflow handling any "extra water" that may go through in that time and then the system is given enough time to drain out before refilling again. Helpful system design tips Ensure to use quality hardware and filters as failure to do so can mean a fast downward spiral should issues occur because of this it can also be advisable to have a backup of certain items like water and air pumps you certainly have more time than with some systems though it's not advised to run the gauntlet in my experience Step one size up in diameter for your overflow than you have in place for your drain , this will ensure that even with the pressure of the pump pushing through water if anything goes wrong your system won't overflow It is advisable to use some form of netting or protection around your drains and inlets to avoid medium and or roots blocking up the zones Ensure to use filters on your feed lines to keep the system free from waste solids A centrifugal pump is recommended if you intend to use the same hole for your intake as your drain the use of other pump styles without some form of pressure release will cause them to lockup or break from ware, Ensure to allow suitable medium volume for the desired plant/s sizes Suitable mediums : Clayballs, Lavarocks Advantages The constant flooding action helps to avoid a rapid build up of salts in the medium bed Provides an oxygen rich environment for the roots as stale air is pushed away when flooding and fresh drawn in as the draining occurs Lower water and nutrient consumption in comparison to run to waste systems and some other hydroponic systems Disadvantages Unable to easily inspect roots for issues Pump or power failure can mean loss of your crop over as little as a day or two Higher medium costs than many hydro systems as there is a bed to generally fill Satellite Systems Satellite systems are one of your more flexible medium wise and many people have added their own variations to the basic concept but like in the other cases we have discussed most lead back to the same basic rules and principles . The system itself is made up of a reservoir and any required number of separate pots which are what are referred to as your satellites. Your the first of your pots within each "satellite" are top fed and contain many drain-holes in their base to allow proper drainage , Each of these pots are sat inside of a second pot which is used to catch the excess water and nutrients , returning them to the reservoir via a drainage hole/line which relies on gravity to take the water away because of this it is important to elevate your pots from the highest reservoir water level. With the variation of mediums used for this style of system it is impossible to give a blanket recommendation on the regularity of feeding, some mediums will require a 15 minute period every few hours , whilst others require only a few minutes a day. The best idea is to get a recommendation from someone who has walked that path before and can maybe give you at least a starting point for experimenting. Helpful system design tips Use quality pots and other components, cheap pots often crack when drilling and or don't properly support grommets. Cheap grommets leak or have trouble holding a seal over time , and the last thing you need is a huge mess over a dollar or two more spent on each part Elevate your pots above the water level of the main reservoir this will ensure water is returned and not flow back in to flood your pots Build your system with slack in the lines as it makes it easier to reposition individual plants Using in-line filters for your feed and dump lines ensures that no gunk gets into the watering heads to block up the nozzles Instead of drilling your hole at the very base of the pot , putting it on the side an inch or so up allows for a small pool of emergency water should the system fail for some reason ( it can also help to add an air-stone to this emergency pool of water) Unless you are using just perlite or clayballs in your pots it is advised to add a 1-2 inch layer of clayballs or lavarock to the bottom of each pot , this is the area that most commonly builds up with pools of water during regular feed schedules and having that layer there ensures that it drys out with the rest of the medium to be ready for the next feed. Suitable mediums : Pretty much anything except for soil and rock wool Advantages Very flexible system as pots can be added and taken away as needed without disturbing the remaining pots in the system Larger pots can be used for plants requiring more root space whilst being able to simultaneously run smaller pots when suitable Easy to reposition individual plants Each pot keeps each plant in a more isolated environment meaning things like root diseases bugs etc don't spread too easily or quickly Even with pump failures you are given a fair amount of time to realize and fix the issue ( anywhere from a few days to a week depending on the medium choice ) Lower water and nutrient consumption in comparison to run to waste systems and some other hydroponic systems Disadvantages Unable to easily inspect roots for issues Relying solely on top feeding to supply nutrients and water , tends to channel the water downward through the medium where density is lowest which can leave the side top area more dried out Higher medium costs than many hydro systems Deep Water Culture / Bubbler ( DWC ) There is quite a variation to the types of DWC systems out there, some are designed as tub systems with several plants sharing the same tub , whilst others are more like a satellite system layout with one control bucket and as many satellite buckets as is required , ( for the sake of less confusion we will be referring to tubs & buckets as buckets throughout the rest of this section ) . Despite there small difference they all follow the same basic rule of thumb, like aeroponics a net pot is used to suspend the plants roots into the buckets however where things are different in DWC is that the roots are left to "swim" in the water inside the bucket itself instead of being sprayed as a mist which naturally means that each bucket contains a higher level of water ( see linked example system) . To effectively achieve this and to keep levels of oxygen up in the water an air stone is placed in the bucket , this keeps each plant's root system in an oxygen rich environment allowing it to optimize growth and food usage. Usage of the water all depends on the system design , in some designs your control bucket is simply used to top-up water that is used in the tubs doing so passively , where as in other systems a pump is used to actively push water into each bucket , in these configurations a drain pipe is used to push any overflow back to the reservoir. The second of these methods is often preferred as it provides a constant mix of fresh water to the roots and where a chiller or heater is going to be used the system is kept in balance instead of heating up or cooling down in dead spots Helpful system design tips Planning out your system is a key to headache free growing , plan for things like the need to isolate a bucket from the system or temporarily cut off flow to area's should maintenance be needed , this can be achieved by using taps. Ensure your system will not drain or flood in area's should there be a temporary power loss or hardware failure Ensure to use quality hardware and filters as failure to do so can mean a fast downward spiral should issues occur because of this it can also be advisable to have a backup of certain items like water and air pumps To avoid solid impurities it is advised that you run some form of in-line filter or filter material both at the point where the water comes into the system as-well as any return lines though they are less commonly found in aeroponic designs Using a heater and or chiller where suitable in your reservoir to ensure a stable water temperature can go along way to a successful grow , some areas have no need for either whilst other areas demand one or both at various times of the year to keep the water within the desired range of 22-24 degrees Celsius Make sure that you choose suitably sized tubs for the number of plants your looking to grow keeping in mind that you want to avoid any drains or water intakes from becoming blocked the container also needs to be lightproof to avoid algae growth and other rot issues associated with light leaks in the root zone. Food grade plastic is strongly suggested for your reservoir aswell as any tubs as they do not corrode and it is easy to attach fittings where needed to them ( it sucks pulling your hair out with a contamination issue as it's often the last thing you consider when you encounter issues at the time). Suitable mediums : Clayballs, Lavarocks, None Advantages Provides an oxygen rich environment for the roots One of the most rapid growing methods Low water and nutrient consumption in comparison to run to waste systems Easy access to check on root system Easy to sterilize and clean the system Low medium costs No large amounts of medium to dispose of Disadvantages Pump failure in an incorrectly designed system can result in the loss of plants in a matter of hours particularly in warm weather, however if planned out properly you are able to put in a few days to a week safeguard in most conditions High sensitivity to water temperature which can mean in summer that a chiller is needed in some areas in summer Need for regular water dumps and water changes are needed to avoid rapid occurring buildups Run to Waste Run to waste basically describes soil culturing , water and nutrients are introduced to the plant and the excess run off is allowed to run into a waste bucket , directly into the ground or a tray of some form . It is not however returned to the system for re-using. Medium choice is often something with a bit more water retention than traditional hydroponic systems though there is certainly some cross over , most common are things like soil or coco . Because of this water retention feeds are done less frequently allowing the plants to use up the water they are given between each feed. This also provides a lengthly buffer should something go wrong with the system , as you will have more time to notice and repair any issues that may occur. The use of fresh water and nutrients at each watering also means for a more stable system and no guess work when it comes to topping up your nutrients or adjusting pH , regular flushes are recommended though if you keep your feeds at the correct pH levels your less likely to experience pH fluctuation in the medium itself. It isn't without it's downsides aswell though , because of this fresh water and nutrient feed sometimes as many as 5 times a day ALLOT of water and nutrient can be potentially wasted. It is therefore up to the grower to choose a suitable method of growing that isn't going to hurt the wallet or the environment too badly , whilst still allowing for the advantages that Run to waste provides. Helpful system design tips Correct medium choice is a key to minimizing some of the downsides to this style of system. Pick something with decent water retention such as soil or coco The use of pot trays ( saucers ) is recommended to minimize wastage and prevent ground contamination it also provides a dual service of allowing the plants to wick up the excess water as needed sdfdsf sdfsdf sdf Organically enriching your medium with things like worm castings etc, instead of using traditional salt based nutrients alone can go a long way to saving on supplies , particularly on any larger scale project Suitable mediums : Soil , Coco , Perlite , Rock wool , Clay Balls ( basically anything but some mediums are simply not cost effective to use with this sort of system ) Advantages pH and EC is easily kept stable with the constant use of fresh solution Plant receives fresh water at each feed Contamination risk is lower due to water not being recirculated back through the system The choice of using mediums with a higher water holding capacity allows for more time should some sort of failure occur to pumps or timers etc Disadvantages Mediums with a higher water retention are more prone to over-watering Prone to salt build up ( risk can be minimized by periodic flushing of the medium with fresh water) Commercial use is being outlawed in some area's due to the run off waste potentially damaging to the ground it runs off into his can be minimized by system and choice in trace element supply methods , on a larger scale often organically enriching your medium is far cheaper than bottled salt based nutrients ) Wick System The wick growing method is considered to be the most basic and easiest to setup hydroponic growing system. There are many styles of wicks but they all surround a principle of having a wick to automatically draw water up as needed by the plant. As shown in picture (a) bellow you can create a wick growing system by drilling out a hole in the bottom of your pot, and placing an absorbent rope through it hanging down into your nutrient reservoir. Water and nutrients are provided by the wick to the medium on a needs basis which allows your cannabis plant to feed as required with the wick automatically re-hydrating the medium as it needs. Wick systems are generally setup using one of the more absorbent growing mediums like a perlite/vermiculite mix, coco or soil etc. The the wick does it's job quite slowly and relies on medium hydrating medium so when attempting to use mediums such as clayballs , or straight perlite you will find a very uneven hydration pattern which will effect feeding. Another popular wick growing system is simply to use the growing medium alone as your wick; this wick growing method can be found in practically every self watering pots on the market which implement it as seen in Image ( above. Helpful system design tips Use suitable medium to ensure proper drawing of water from reservoir. This also gives you a wider time frame to catch problems should any occur. Ensure Water solution is properly aerated by the use of an air pump in your reservoir. If using self watering pots many recommend also adding a stone into each pots catchment area where possible Flush medium regularly to avoid salt build up ( this is a rare occasion water your wick system from the top ) Avoid ropes made from synthetic materials such as nylon as they don't absorb water or salt based nutrients aswell as most natural fabrics like cotton or hemp Suitable mediums: perlite / vermiculite mix, coco, rock wool or soil Advantages No need for pumps as wick will handle the automatic feeding Low Maintenance Low water and nutrient consumption Minimal setup and running cost Easy to clean and sterilize Disadvantages Less suitable in area's with naturally high salt levels in the water as levels will gradually increase With little to check on and a total reliability on the wick doing it's job when problems do happen they are often not seen for a while , this can be minimized by simply getting in your room to check on things more than just to top up your plants written by: Pure images by: Oz Copied ans Pasted from "Cannaversity" - http://cannaversity.com/cannaversity/article.php?id=100 Peace Lams
- 4 replies
-
- 2
-

-
- Hydroponic
- hydro
-
(and 8 more)
Tagged with:


